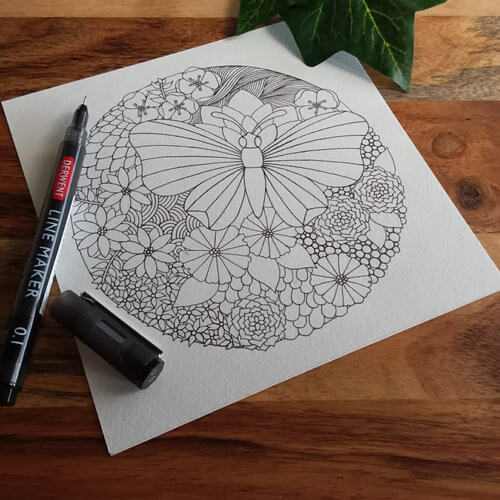
After sketching out my drawing in pencil, I used a 0.3 black Line Maker to outline the main forms. At this stage I focus on balancing the composition, and don't add any shading or details.
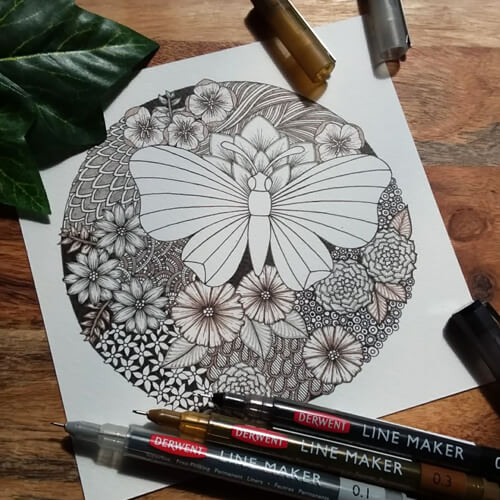
I use 0.3 and 0.5 graphite and sepia Line Makers to lay down the parts of the drawing I want to highlight in these colours. After doing this, I use the 0.05 and 0.1 pens to add shading and patterns where needed. I leave the main image of the butterfly simple at this stage.
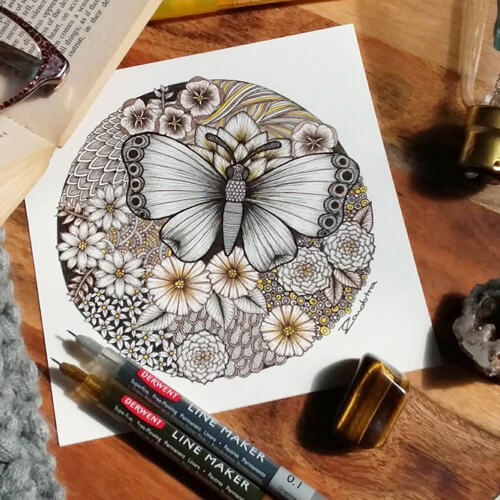
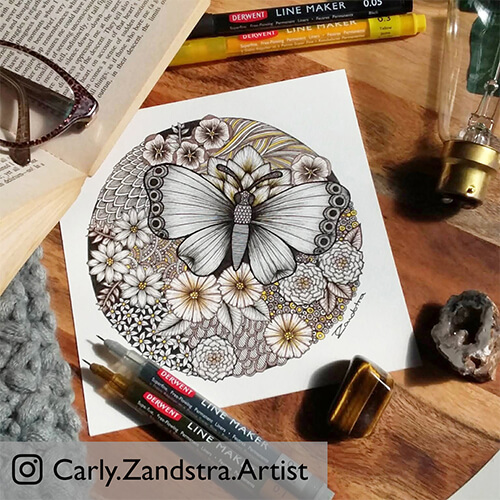
When I have my colours established, I focus on the smaller details using black, sepia, and graphite pens in 0.1 and 0.05. To highlight the butterfly, I used soft lines to contrast with the stronger lines of the surrounding patterns.
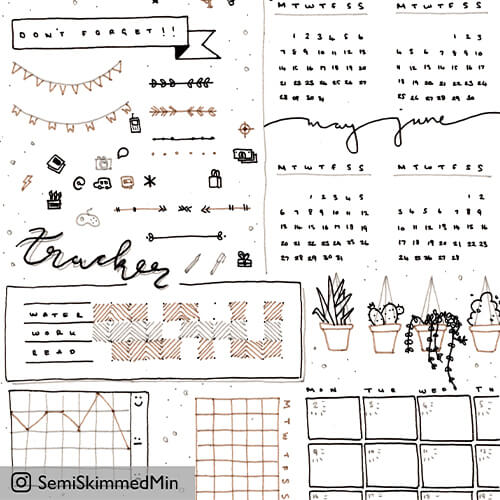
Organise, plan and remind yourself in a creative way!
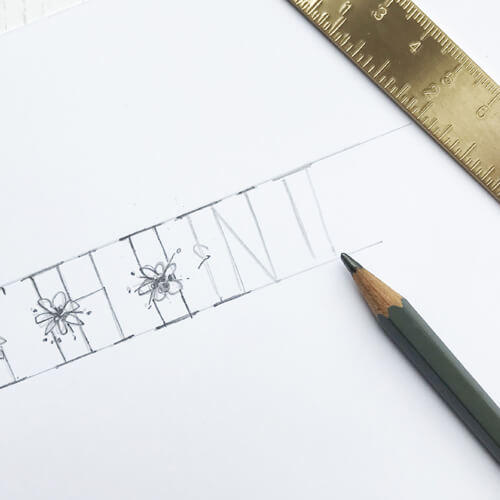
Using a pencil, mark out a faint central vertical and horizontal line on your envelope or letter and lines for your lettering. Write your chosen large words in the space you’d like to fill, adding a second line to the down-stroke section of the letter to create a thick line on the left side of the letter. Sketch a small floral motif across all the letters in the same place. Here, I’ve chosen to place them centrally.
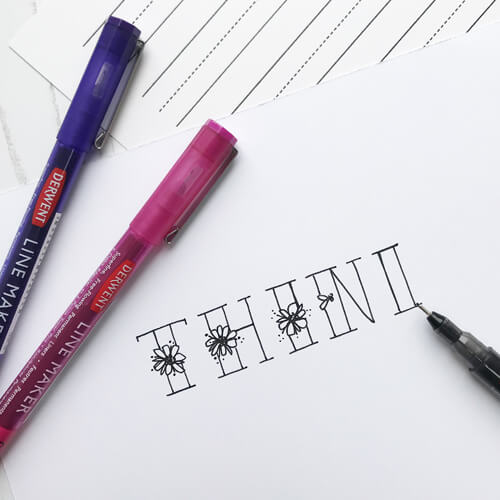
Using a size 03 black Line Maker, carefully go over all the pencil lines including the flowers.
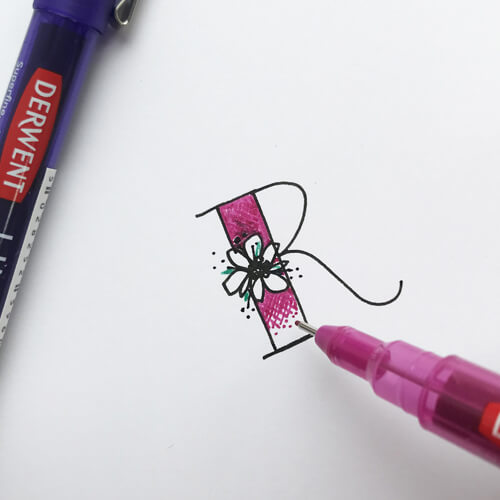
Pick a colour to use in the main section of each letter. Colour the top of the shape in solid colour then create a graduation of colour by using a crosshatching technique (little lines drawn at right-angles to each other). Choose a different colour to highlight leaves and add pattern details to the edge of the paper.
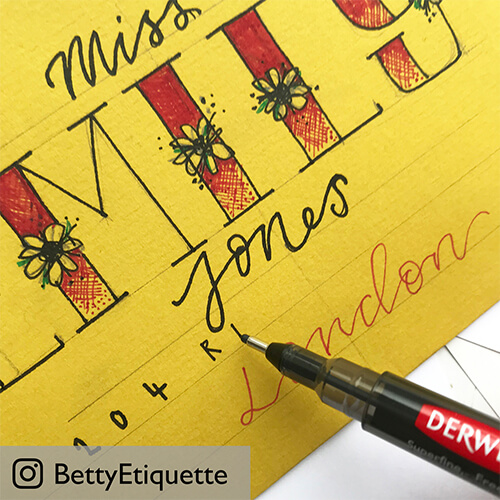
Use different styles of writing for the remaining section of the letter and address on the envelope to bring the whole composition to life. Give your pens time to dry before rubbing out the pencil marks then pop it in the post and see how it makes someone’s day to receive it!